

Files and attachments
Each workspace stores its own files, organized in folders. Files you attach to canvas nodes are stored there too, so the workspace holds everything it has collected in one place. You browse and manage them in Explorer: open the workspace there, and its folders and files are listed there with its work packages.
What a workspace holds
Section titled “What a workspace holds”- Folders and files. In Explorer, open the workspace and the folder you want, then use Upload, New folder or Add link above the list. The file, folder or link goes into the folder you’re looking at, or the top level of the workspace at its root. In the upload dialog, drop a file onto the file area or click it to browse; the name and type are filled in from the file, and you can change them before adding it. Then rename, move or delete files as your access allows. Many file types preview in Sauriq; download Word, Excel and PowerPoint files to open them.
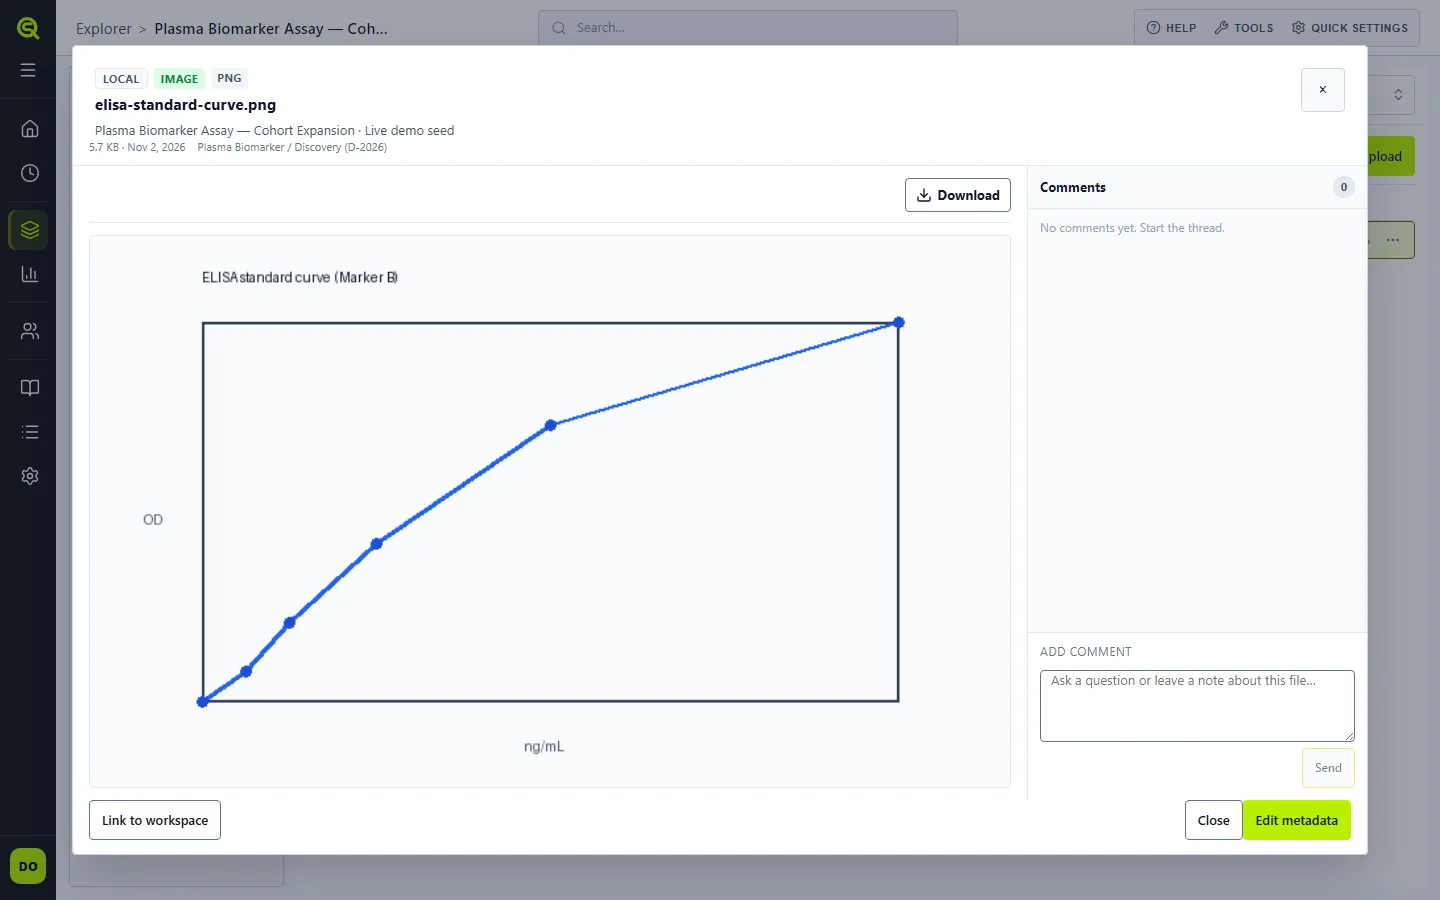
- Preview and comments. In Explorer, select a file and press Open (or Enter, or double-click it). The preview opens over the list, with the file’s comments beside it, and you stay in the same folder. The page address then points at that file, so you can copy it to send someone straight to the preview. To change a file’s name, type or source note, use More → Edit details on its row, or Edit metadata in the preview.
- Moving. In Explorer, drag a file or folder onto a folder in the list, or onto Up, Workspace or a folder in the path above the list to move it higher. While you drag, every place in the path that can take the item gets a dashed outline, and Up reads Move to and the name of the folder above; the place under the pointer fills in. The folder the item is already in isn’t marked. After the move, the message at the top names the item and the folder it went to. Or choose More → Move… (right-clicking a row opens the same menu) and pick the destination folder. Files and folders move within their workspace, and a folder can’t go into one of its own subfolders.
- Links. Add link saves a web address, such as a shared drive document, as an item in the workspace, next to your files.
- Linked items. In Explorer, Add from another workspace above the list links a file from another workspace into this one without copying it, and More → Link to workspace on a file’s row links it into another workspace. A linked file is listed at the top level of the workspace it’s linked into, with a Shared link badge; other files show Local or Link. Open previews it. Its More menu, and its preview, offer Remove link, which takes it out of this workspace only. The file stays in its own workspace, which is where it’s renamed, moved or deleted.
- Finding files. Search, or a single type picked in Show these types (such as File), lists every match in the workspace, not only the folder you’re in, with a Location column showing where each one is. All types goes back to the folder’s contents.
- Evidence packages. A package groups files for a purpose, such as a submission or a reviewer response, without moving them out of their folders. In Explorer, packages are listed at the workspace root after folders and work packages, and Evidence package in Show these types lists only packages. Use New evidence package above the list to create one and pick its files. Open a package to see its files with their location, and use More → Edit package or Delete package on its row to change it. A file’s Info panel lists the packages it’s in. Deleting a package keeps its files. Packages can include only files the workspace owns, not linked items.
Upload a file
Section titled “Upload a file”Any member of a research workspace can upload files to it. In the Institution Workspace, see Who can change what.
- In the sidebar, open Explorer and select the workspace.
- Open the folder the file belongs in, or stay at the workspace root.
- Select Upload.
- In Upload item, drop a file onto the file area, or select browse and choose one. Name and Type are filled in from the file; change them if you want.
- Check the Folder, add a Source note if it helps, and select Add to repository.
The file is listed in that folder, and its size counts toward your institution’s storage.
Preview a file and comment on it
Section titled “Preview a file and comment on it”- In Explorer, open the workspace and select the file. To find it in any folder, type part of its name in Search by name.
- Select Open, press Enter, or double-click the file.
- To comment, type in the box under Comments beside the preview and select Send.
The preview opens over the list. Images scale to fill the preview, larger or smaller than their own size, without cropping. One row above the preview holds the file’s actions: Download for a stored file, or Open in provider for a link. For a PDF, the same row has the page buttons and Zoom out / Zoom in. A link’s preview shows its provider, its web address and whether it’s synced. On a phone, the comments sit under the preview. Select Close to return to the same folder.
Attachments on nodes
Section titled “Attachments on nodes”An Attachments widget on a node holds files from the workspace. You can upload a new file into it, which also adds the file to the workspace, or select a file that’s already there.
Attach a file to a node
Section titled “Attach a file to a node”You need to be able to edit the canvas: any member of a research workspace can.
- On the plan’s Canvas tab, right-click the node and choose Edit node.
- If the node has no Attachments widget, add one with Add widget.
- In Attachments, select Upload file to add a file from your computer, or Select from workspace files to pick one that’s already in the workspace. Insert link adds a web address.
- Select Save.
The file is listed in the node’s Attachments, under More on the node card. Select it there to preview it.
If someone attached a file you cannot open, you can still edit the node and keep that attachment. This does not give you access to the file. Adding another attachment or changing which file a row points to requires permission to view that file.
Removing a file from a node unlinks it. If nothing else uses the file (another node, a plan item, an evidence package or another workspace), Sauriq also deletes it from the workspace, so files don’t pile up unused. A file that’s still in use elsewhere stays in the workspace.
Deleting a file or folder in Explorer doesn’t remove it from the nodes that use it. Each of those nodes keeps a Deleted workspace item row in its place, so you can see something was there; remove the row from the node when you no longer need it.
Plan items can link files too. Files on a plan lists the files and protocols attached on its canvas.
Who can change what
Section titled “Who can change what”In a research workspace, every member can upload, organize and delete its files.
The Institution Workspace is shared by everyone, so its files have stricter rules:
- Anyone in the institution can view, comment on, link and upload files.
- Institution admins create top-level folders and reorganize them.
- Everyone else can create subfolders where the folder allows it, and can edit, move or delete only the files and subfolders they added. New folder shows only where you can use it.
Files belong to the workspace, not to a work package. While a work package is open in Explorer, Upload, New folder and Add link aren’t shown; go back to the workspace root or a folder to add files.
A workspace that’s scheduled for deletion is read-only, files included, until it’s restored. See Workspaces.
Storage
Section titled “Storage”Uploads from every workspace in your institution share one storage pool. The size depends on your plan: 250 MiB on Personal, 2 GiB on Team and Enterprise. See Personal and Team. Settings → Organization → Plan & usage shows how much is used. Institution owners and admins also see the breakdown by person.
When the pool is full, new uploads are refused until someone removes enough files. Delete files in Explorer or from node attachments; if you can’t remove the largest uploads yourself, ask an organization owner or admin.